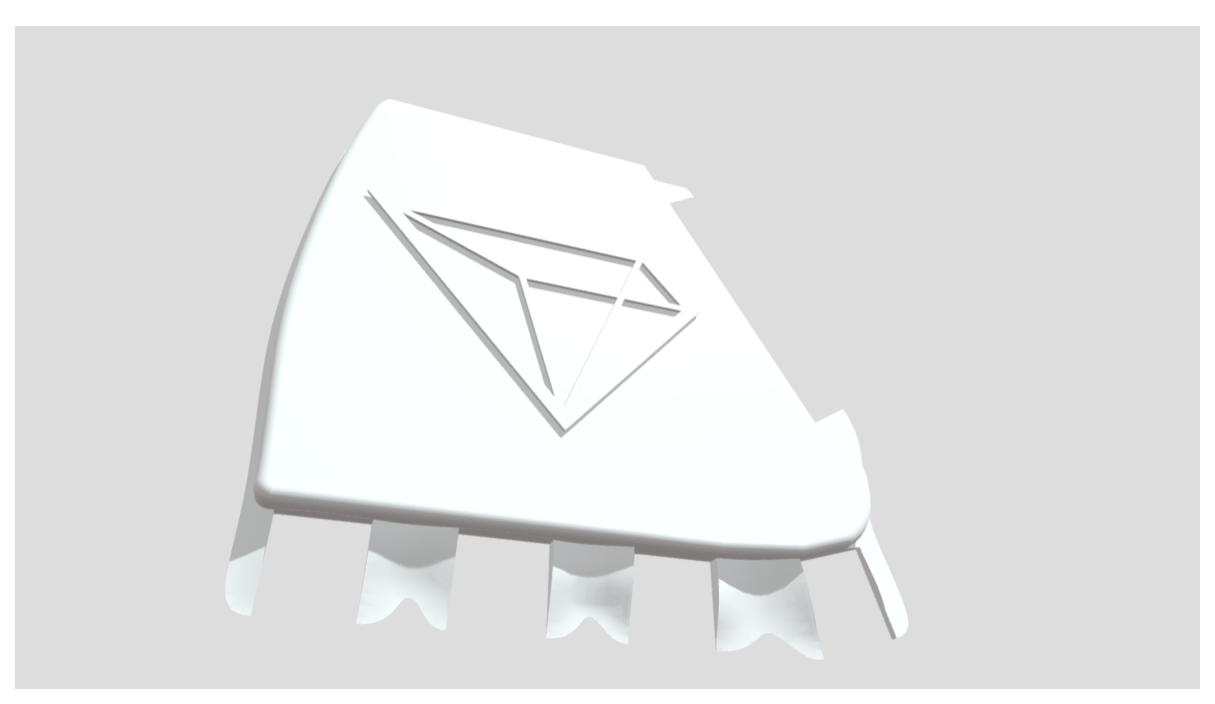
WordPress is a versatile platform that allows you to showcase various types of content, including 3D models. In this blog post, we will guide you through the process of embedding a .stl file into your WordPress website using free tools available online.
Step 1: Convert .stl File to a Web-Friendly Format
The first step is to convert your .stl file into a format that can be easily embedded on a webpage. One popular tool for this purpose is Sketchfab.com. Visit the website and sign up for a free account if you don’t have one already.
Once you’re logged in, click on the “Upload” button and select your .stl file. Sketchfab will automatically convert it into a web-friendly format, such as .glb or .gltf.
Step 2: Customize and Configure Your 3D Model
After the conversion is complete, you can customize and configure your 3D model on Sketchfab. Add annotations, textures, animations, or any other desired interactive elements to enhance the user experience.
Once you’re satisfied with the customization, click on the “Publish” button to make your 3D model publicly accessible.
Step 3: Embed the 3D Model into WordPress
Now that your 3D model is ready, it’s time to embed it into your WordPress website. Open the WordPress editor and create a new post or page where you want to display the 3D model.
Switch to the “Text” editor mode and paste the embed code provided by Sketchfab. The embed code usually starts with <iframe> and ends with </iframe>. Make sure to save your changes.
Preview or publish your post/page, and you should see your 3D model embedded on your WordPress website.
That’s it! You have successfully embedded a 3D model (.stl file) into WordPress using free tools available online. Now you can showcase your 3D creations and engage your audience in a whole new way.


